Project Data Page
The Project Data page is the hub for each project. Collections, datasets, and raw data files are
accessible here. The data organization system implements familiar concepts of paths and folders
to organize and access data in Orion.
The Programming Guide has additional technical details about data handling in Orion.
Organizing and sharing data in folders
Users can organize the data according to the way they would like to share data among team members in a project. In addition, there are controlled data sharing capabilities among members in the project. To achieve these objectives, the following main folders are available to users.
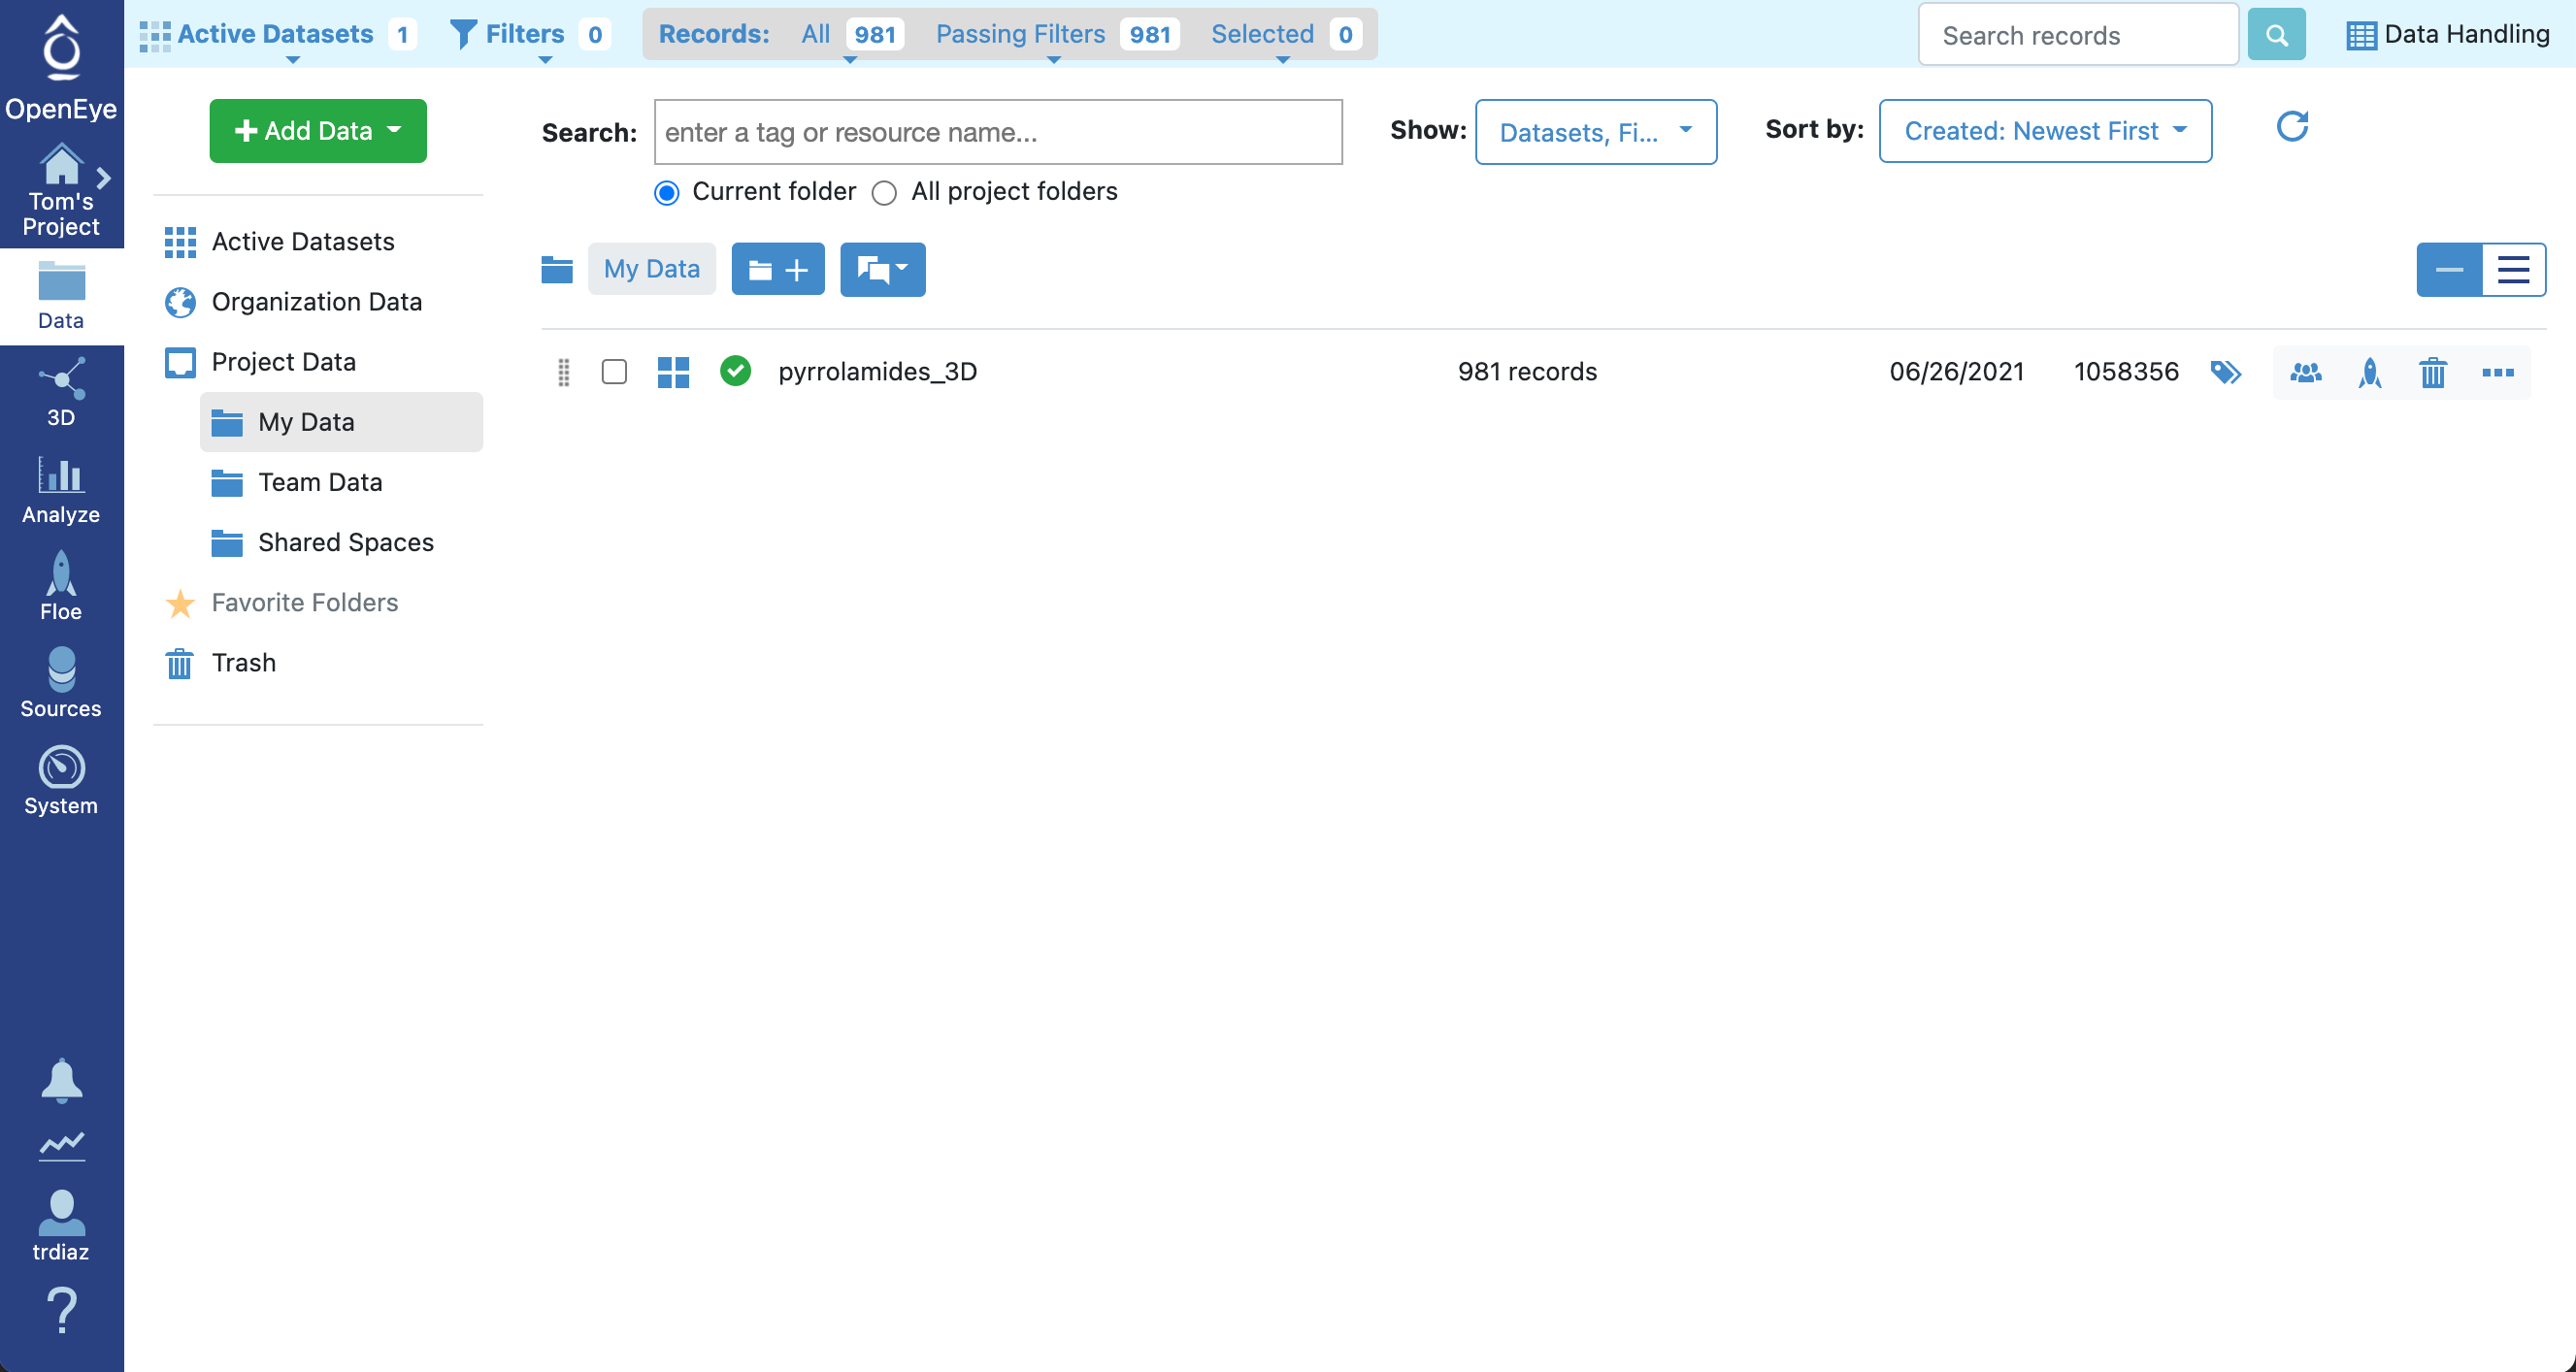
- My Data
The data in this location are private and only accessible by the user. However, these data still can be shared by moving the data to a Shared Space workspace. Data are put in My Data unless you specify otherwise in your upload.
Only you can see the data until you share it to the Team or Shared folders.
- Team Data
The data in this location are available to all project members.
- Shared Spaces
The data in this location are available to the project members selected by the user.
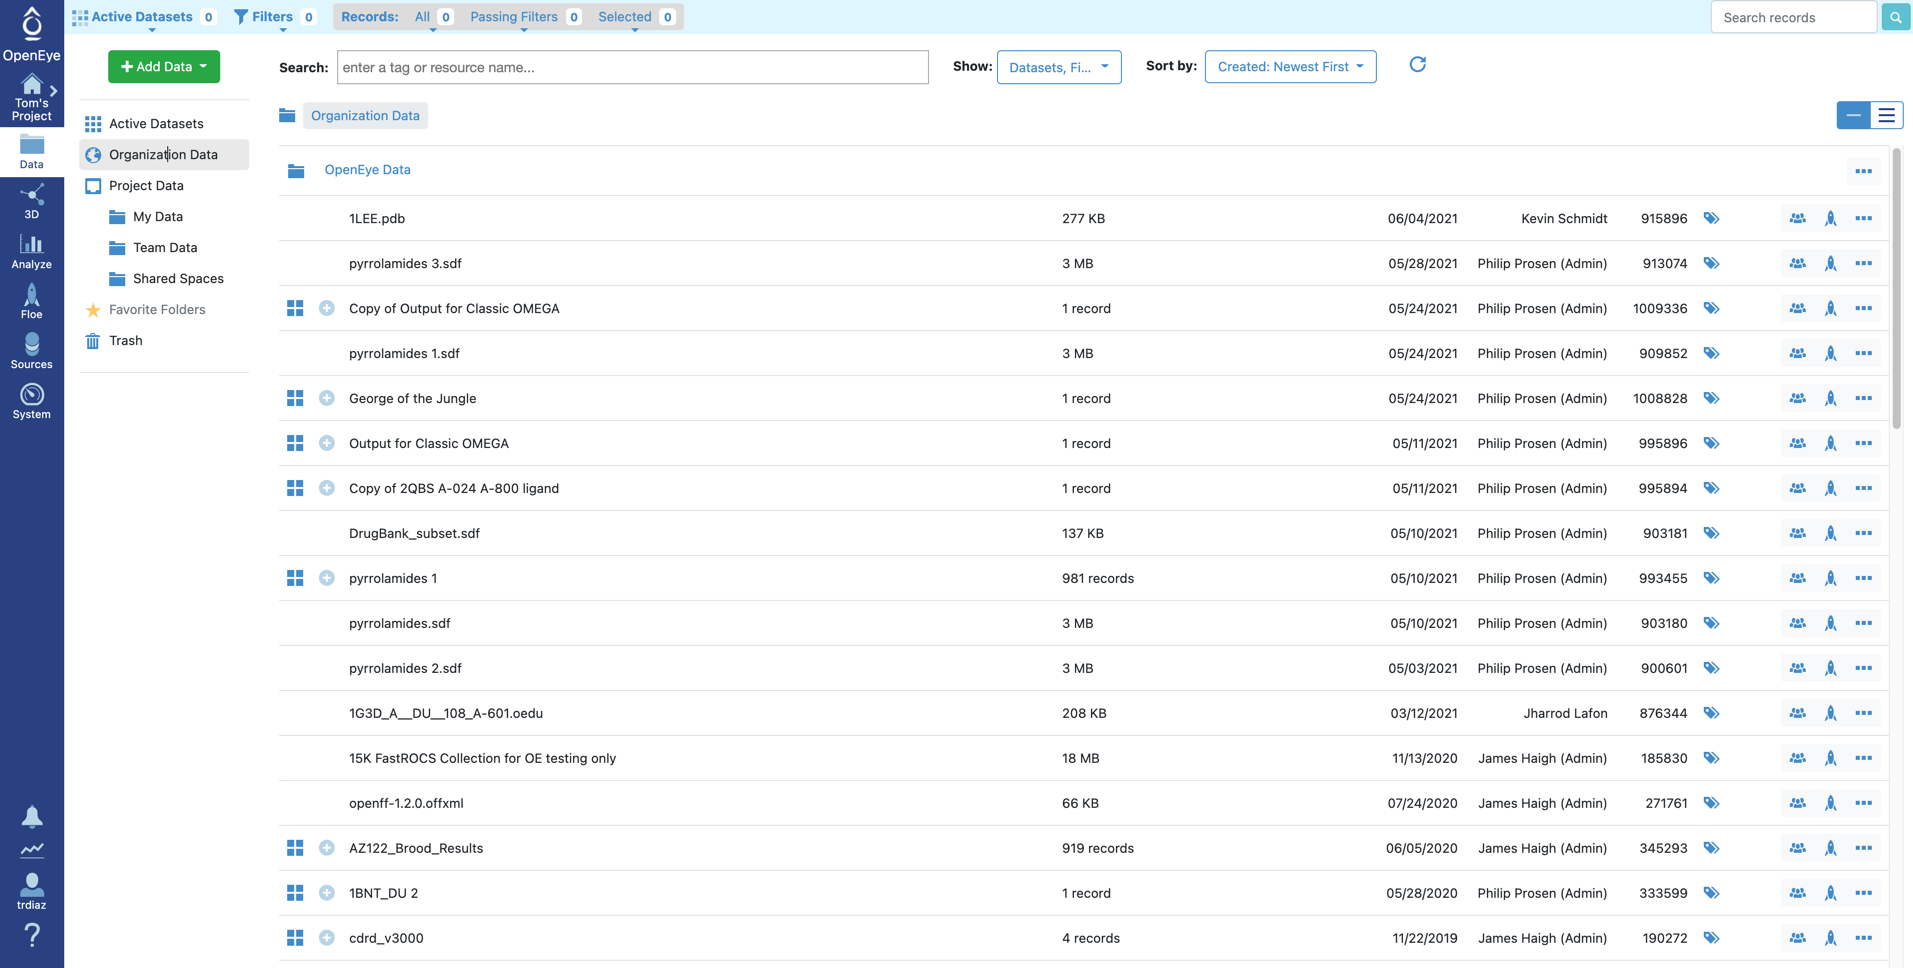
Orion provides automatic intraspection of files: hovering gives a depiction of the
first structure, if the file contains small molecules, or a protein schematic if amino acids
are present. Selecting one or more datasets creates an active dataset. Active datasets are
carried forward to any feature domain (for example, moving to the Analyze page automatically
populates the spreadsheet). The Project Data page also shows which filters are currently
applied to the active data.
Name |
Description |
|---|---|
Add Data button |
Allows users to add data by uploading files or sketching. |
Search |
Allows users to search for collections, datasets, or files by name or tag. |
Show drop-down |
Allows users to show any assortment of collections, datasets, and files. |
Sort by drop-down |
Allows users sort by one of several options. |
Datasets Table |
Lists project datasets, sorted as specified by the |
Trash Can |
Repository for deleted datasets. To restore the dataset, click on the Trash Can, select the dataset, and drag it to the appropriate folder. |
Tile View
Another form of intraspection is available for small molecule files: the tile view. Activate the tile view by
clicking the  icon to the left of a dataset name.
On completion of the browsing of structures, click
icon to the left of a dataset name.
On completion of the browsing of structures, click Cancel, and you are returned to the originating page.
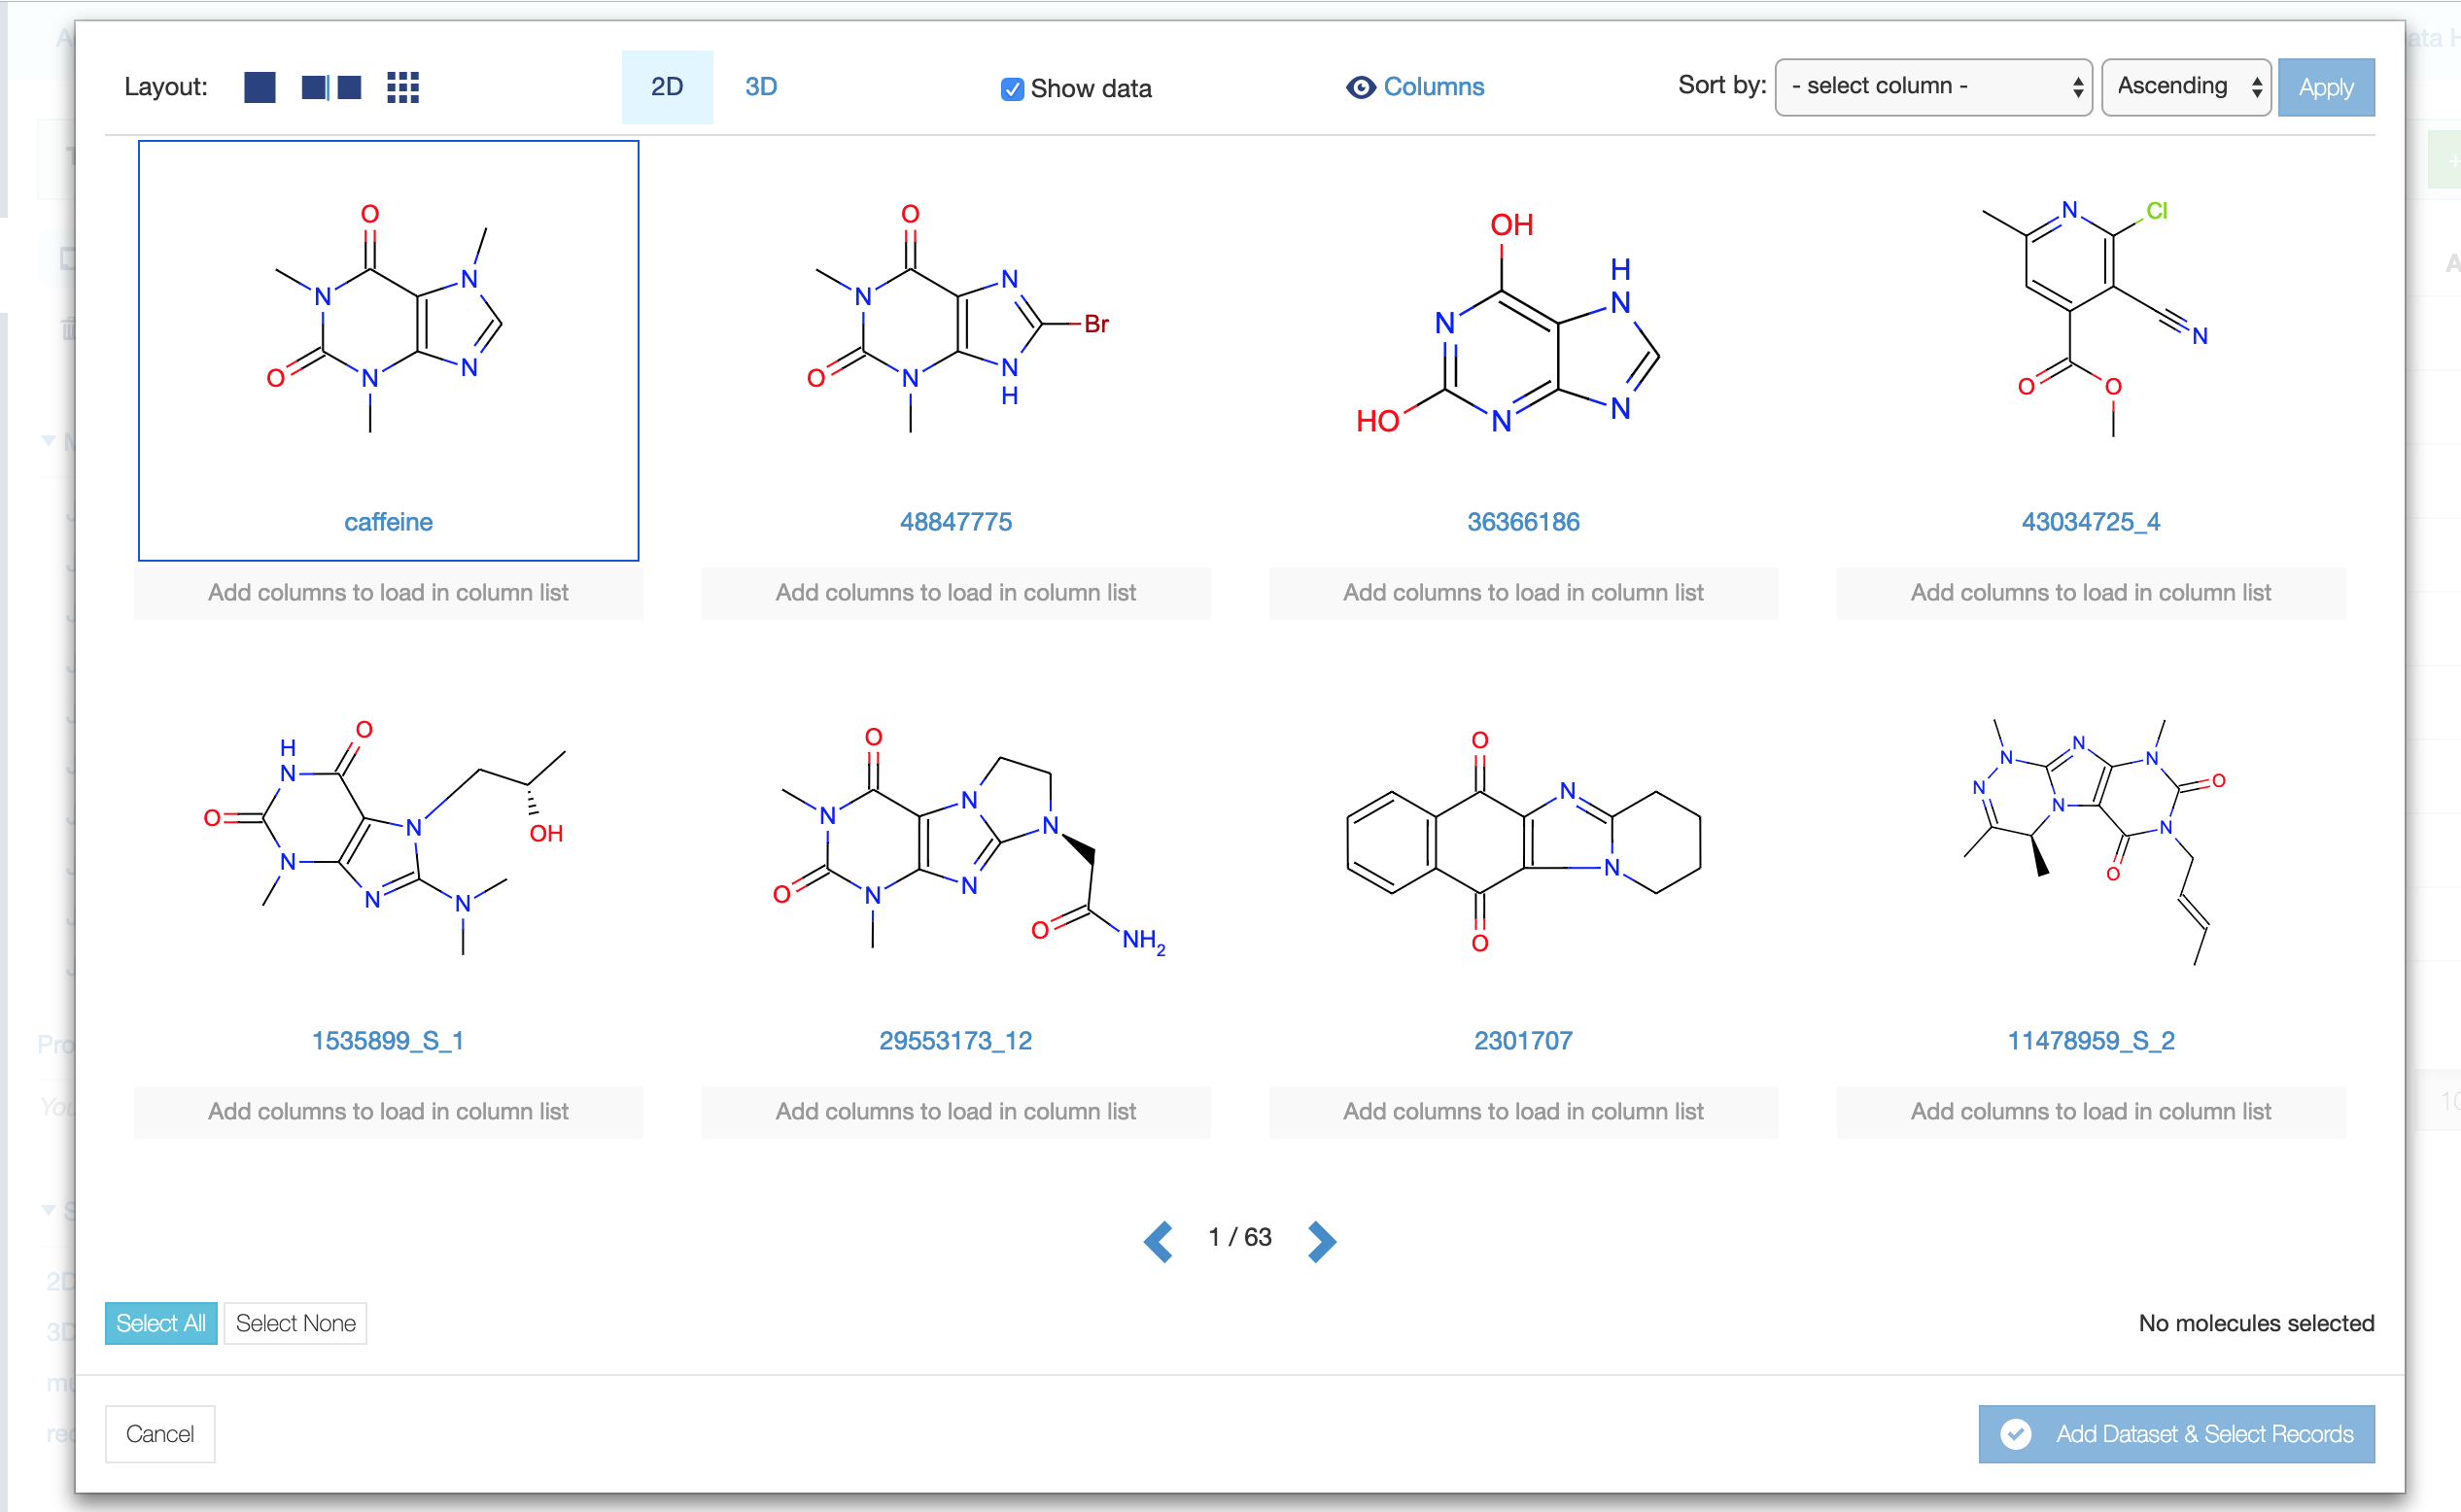
The tile view displays a panel list of structures, in 2D or 3D, with associated properties. It can be configured to display single structures, a side-by-side view, a grid compare view, or a grid view. Entries can be sorted by properties selected from all those available within the dataset. The tile view is designed for fast traversal; selected structures can form the basis of a selected set on leaving the page.
What actions do I need to take if I had an account on a pre-2021 version of Orion?
If you have a pre-2021 Orion account, you will need to take some action on the shared data from previous Orion versions.
Decide how to organize the data.
Move all previously shared items into the appropriate folders.
Assign collections to a project.
AWS Representation
Datasets are stored within an AWS Postgres database. Files and collections are stored on AWS S3. If datasets, files, or collections are deleted, they are sent to the Trash Can. Anything in the Trash Can is deleted automatically after 30 days.
In addition, users can delete items in the Trash Can immediately by selecting the “Delete permanently” option. Please consult the Orion Admin Guide for further details.
Searching for data
You can search for datasets by entering a tag or resource name in the search bar. Select the main folder or space you would like to search. Next, enter the tag or resource name and click on that name. Then, the results will be shown at the bottom of the page. In addition, you will be able to see the path where this data can be found.
Uploading data
You can specify a path when uploading a file into Orion. To specify a path,
select the folder or subfolders as applicable. Alternatively, you can go up a
directory by clicking on the up arrow or using the backspace key.
Also, you can create a new subfolder by entering the name and then
clicking on Create a new folder.
CXSMILES Data
Data can be uploaded in CXSMILES format. (Data/My Data/+Add Data/Upload….)
Downloading and Exporting Data
You can download data, and it will be converted to a canonical format if necessary.
Select dataset > More Actions > Export.
In the Export popup, choose your preferred file format, then click Export.
In the notification panel you can check the status of your exports.
After download, optionally move or delete the exported file from My Data Exports.
Deleting data
To delete data, first select the data you want to delete
by clicking on the square box on the left side to the folder or subfolder name.
Next, click the  icon on the far right or in the top menu.
Multiple data can be selected and deleted at once. Then, these data will be
moved to the
icon on the far right or in the top menu.
Multiple data can be selected and deleted at once. Then, these data will be
moved to the Trash space. The items in the trash will be automatically deleted after
30 days.
Preserving Data of a Removed User
Customers can open a support request to remove a user from an organization, which transfers ownership of that user’s data to project owners or an organization administrator.
Subfolders
To create a new subfolder, first select the place
(My Data, Team Data or Shared Spaces) where you want to create a new subfolder.
Then, click on the  icon next to the path (example:
My Data). In the pop-up window, enter the
folder name and click
icon next to the path (example:
My Data). In the pop-up window, enter the
folder name and click OK. A new subfolder will be created
with the specified name in the selected path.
You can create a new folder or subfolder in the same window you use to
upload data or when starting a Floe run. To do this,
select the path and then enter the name of the
subfolder you want to create. A green bar
will appear with Create a new folder, next to the
subfolder name you just entered. Click on Create a
new folder. A new folder or subfolder will show up
on the path specified.
Favorite subfolders
To quickly access a subfolder, you can mark it as a favorite by clicking
on the star next to the folder, and it will be added to the Favorite Folders area in the left side column.
Deleting subfolders
To delete a subfolder, select the subfolder you want to
delete and click on the icon. The subfolder and all the contents in this
subfolder will be moved to the Trash space. The items in the trash will be automatically
deleted after 30 days.
Moving a subfolder
A subfolder can be moved to another path or location. To do this, select the folder you
would like to move, and click either the bi-directional line icon on top or the ellipsis
icon, and select Move. Then, choose the destination or path and click the Move button.
The subfolder (and its contents) will be moved to the specified destination or path.
Note
Multiple datasets can be moved at once.
Video tutorial about project data
For more information on the use of the project data facilities, see the tutorial video.
Note
Datasets are stored within an AWS Postgres database. Files and collections are stored on AWS S3. If datasets, files, or collections are deleted, they are sent to the Trash Can. Anything in the Trash Can is deleted automatically after 30 days. In addition, users can delete items in the Trash Can immediately by selecting the “Delete permanently” option. Please consult the Orion Admin Guide for further details.
Moving data between projects
Data (datasets, files and collections) can be moved between projects, folders or subfolders.
To do this, select the data you would like to move and click the bi-directional line icon or
the ellipsis (...) icon and select Move. Then, choose the destination or path, and click
the Move button. The selected data will be moved to the specified destination or path.
Note
Multiple datasets can be moved at once.
Discussion boards
You often need not only to share data with team members but also to discuss the results with them.
Discussion boards are accessed by “chat” icon ( ) on the
 Project Data page. If you select the
icon, you get a display on the right side of the screen that will be familiar from
other chat experiences you have used.
You can share links and images along with text comments, and discussions are preserved so you can revisit them. The discussion board autosaves users’ edits.
For an introduction, see this training video:Introducing Discussion Boards
You can see further information in this training video:Using Discussion Boards.
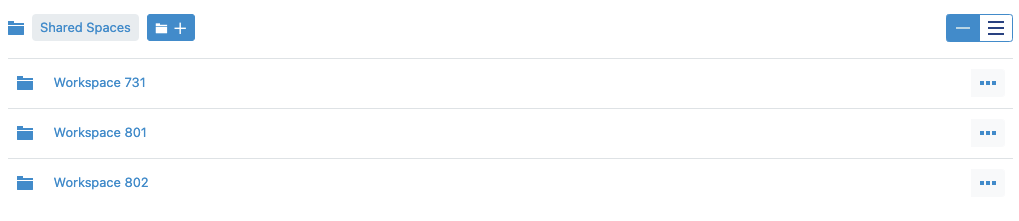
Shared spaces
To share data, use the Shared Spaces main folder (or space).
You can start by creating a workspace in Shared Spaces. Click on the + icon
next to the path. A pop-up window named Workspace name will appear. Enter the
name of the workspace you want to create and click OK.
A new subfolder with the specified name will show in the Shared Spaces. If you click on this workspace, then you will have the option to add members with whom you want to share the data.
Click on the  icon and then click on
 Edit Users. Enter the name of the
user/project member you want to add. In this window, you will have the option
to set the permissions (write, delete) you want for that user to have. All the
data in this workspace will be shared with the selected users/project members.
Alternatively, if you would like all project members to have access to the data,
save the data in the Team Data space.
The items (workspaces) in Shared Spaces resemble folders, but they are actually file systems in their own right. The user interface
enforces the differences between workspaces and folders.
Note
With folders, access to data by others is determined by the folder you choose to use. For example, things in the Team Data folder
are accessible to all members of the project team. For the workspaces within Shared Spaces, you can define a subset of users who have access to the workspace
and its data. You can pick the users by use of the  icon.
icon.
- Move, Drag-and-Drop
The user interface does not show these actions for workspaces in the list of workspaces, because they cannot be performed.
- Create and Rename and Delete
You can perform these actions on workspaces.
- Inside a workspace
Folders created within a workspace behave as other folders do.
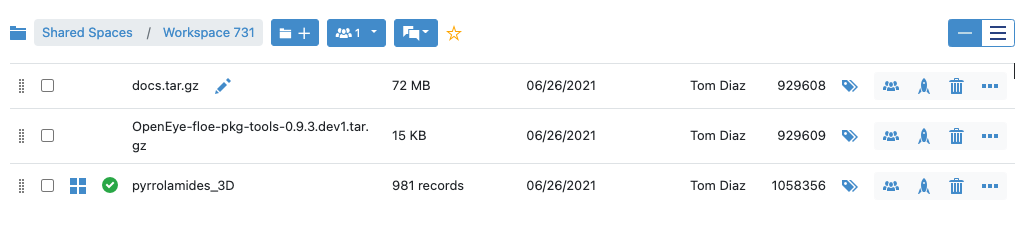
Workspace with contents
List of workspaces