How to Develop with the OpenEye Python Toolkit in PyCharm
PyCharm is a Python integrated development environment (IDE) by JetBrains, available from http://www.jetbrains.com/pycharm. It has a rich set of features for developing and debugging Python programs, including programs using OpenEye Python toolkits. You can follow the how-to suggestions here, to set up a project using our toolkits, and you should investigate the JetBrains site for training and documentation on PyCharm.
This guide uses illustrations from PyCharm on macOS, but the procedures are almost identical
for the Linux version of PyCharm. Just note that the preferences in the Linux product
are brought up with the File/Settings... command.
Create a New Project
After successful installation of PyCharm, a new project has to be created. If not prompted when opening PyCharm, such as in Opening PyCharm, a new project can be created via File \(\rightarrow\) New Project… in the main toolbar.
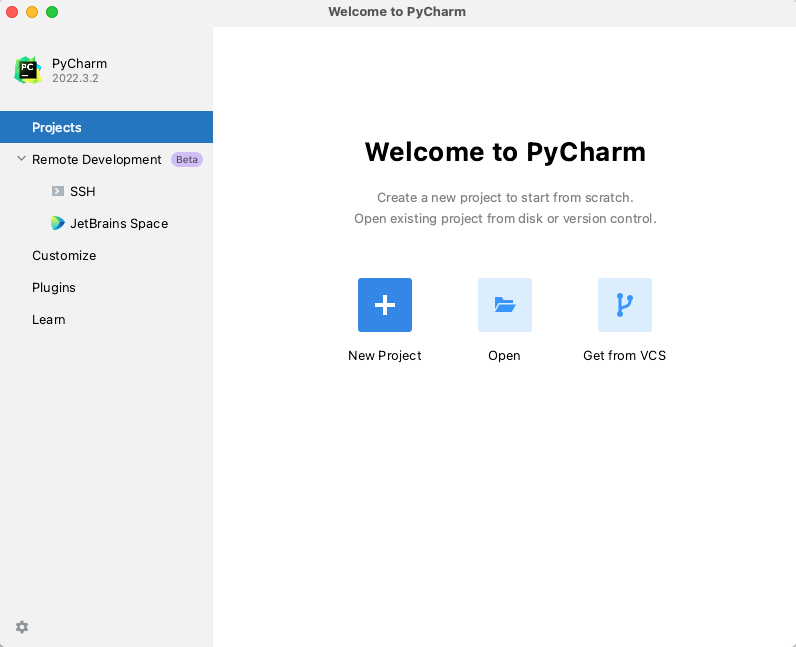
Opening PyCharm
Give your project a name such as OESample. You can
pick a Python interpreter and create a development environment using either
venv or
Anaconda. This guide uses Anaconda, so
the examples assume you have already installed Anaconda from their site.
Optionally, pick the location to which to save the project. The dialog should look like PyCharm Project Dialog
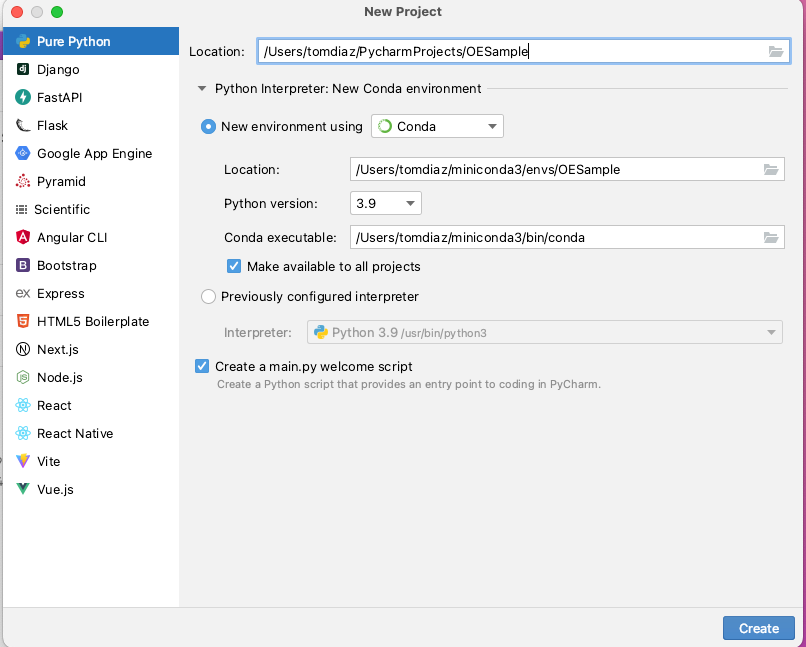
PyCharm Project Dialog
Here, the project OESample will be saved in PyCharm’s default location.
A new environment, also called OESample, will be created using Conda
(Anaconda), and it will
be stored in the location set up during the Anaconda installation. Python
3.9 will be the interpreter used in that environment. The OESample Conda environment
will be available to all projects, meaning it will be available for the
next project you create, in the drop-down under Previously configured interpreter.
Adding the OpenEye Python Toolkit to Your Project as a Package
The next step is to add the OpenEye Python toolkit to this project. Click the Python Packages button at the bottom of the PyCharm screen to bring up the PyCharm Package Window.
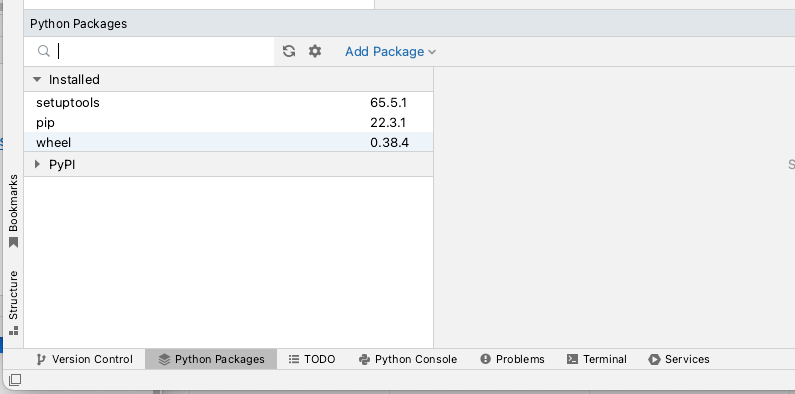
PyCharm Package Window
In the search bar, enter OpenEye, and note that the toolkits were located in the Python Package Index (PyPI).
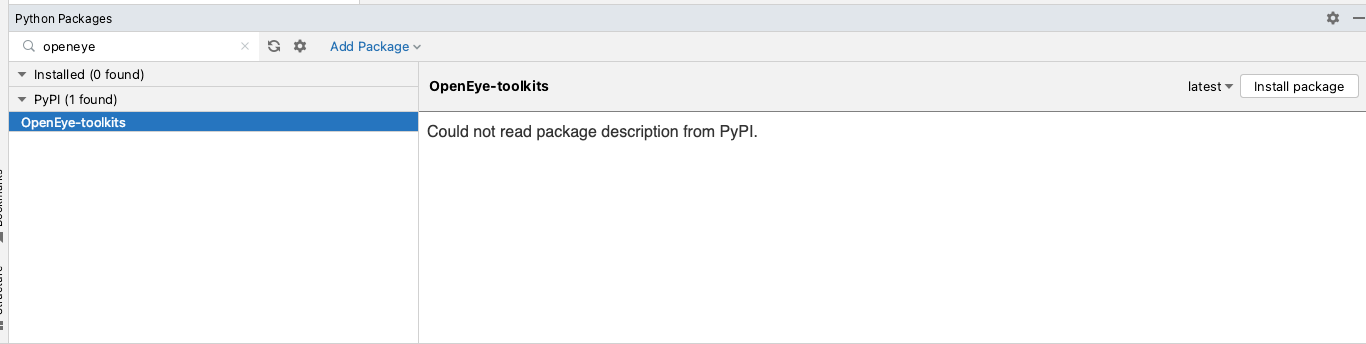
Preparing to Install the Toolkit
Click the Install package button at the right of the Python Packages window.
After a couple of seconds a message: Package Openeye-toolkits
installed will appear at the bottom. Going back to the
Preferences dialog, it should look like
Successful Installation of OpenEye Package.
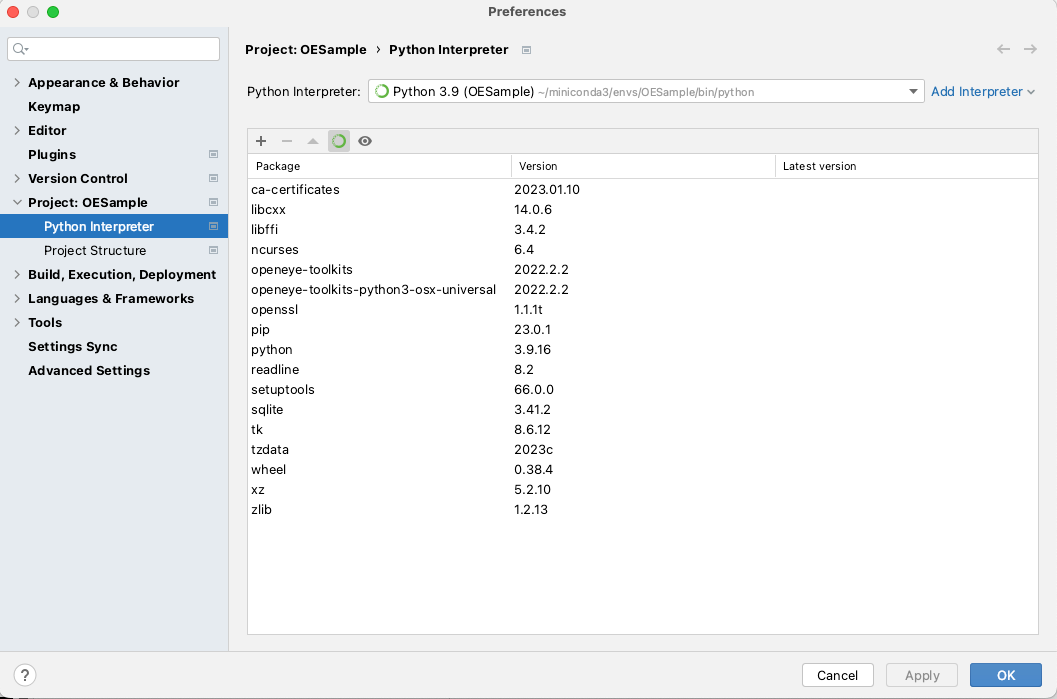
Successful Installation of OpenEye Package
Adding a module to your project
With an OpenEye project enabled, now an example can be written and tested. First, change the view by selecting in the main toolbar View \(\rightarrow\) Tool Windows \(\rightarrow\) Project. Then a new Python module can be created by right clicking on the OESample project (in the list on the left) and then selecting New \(\rightarrow\) Python Package. After naming the project, in this case oechemexamples, a new Python file can be added the newly created package by right clicking on oechemexamples and then selecting New \(\rightarrow\) Python File. In this case a new example file is created with a name oesample.py and with the following sample code:
from openeye import oechem


def main():
    mol = oechem.OEGraphMol()
    oechem.OEParseSmiles(mol, 'c1ccccc1CCCBr')
    print('mol has {0} atoms'.format(mol.NumAtoms()))

if __name__ == "__main__":
    main()
This new example can be run by right clicking oesample.py and selecting Run ‘oesample’ A run dialog will appear at the bottom of the window with the single print statement and it should look like PyCharm Code and Run Output.
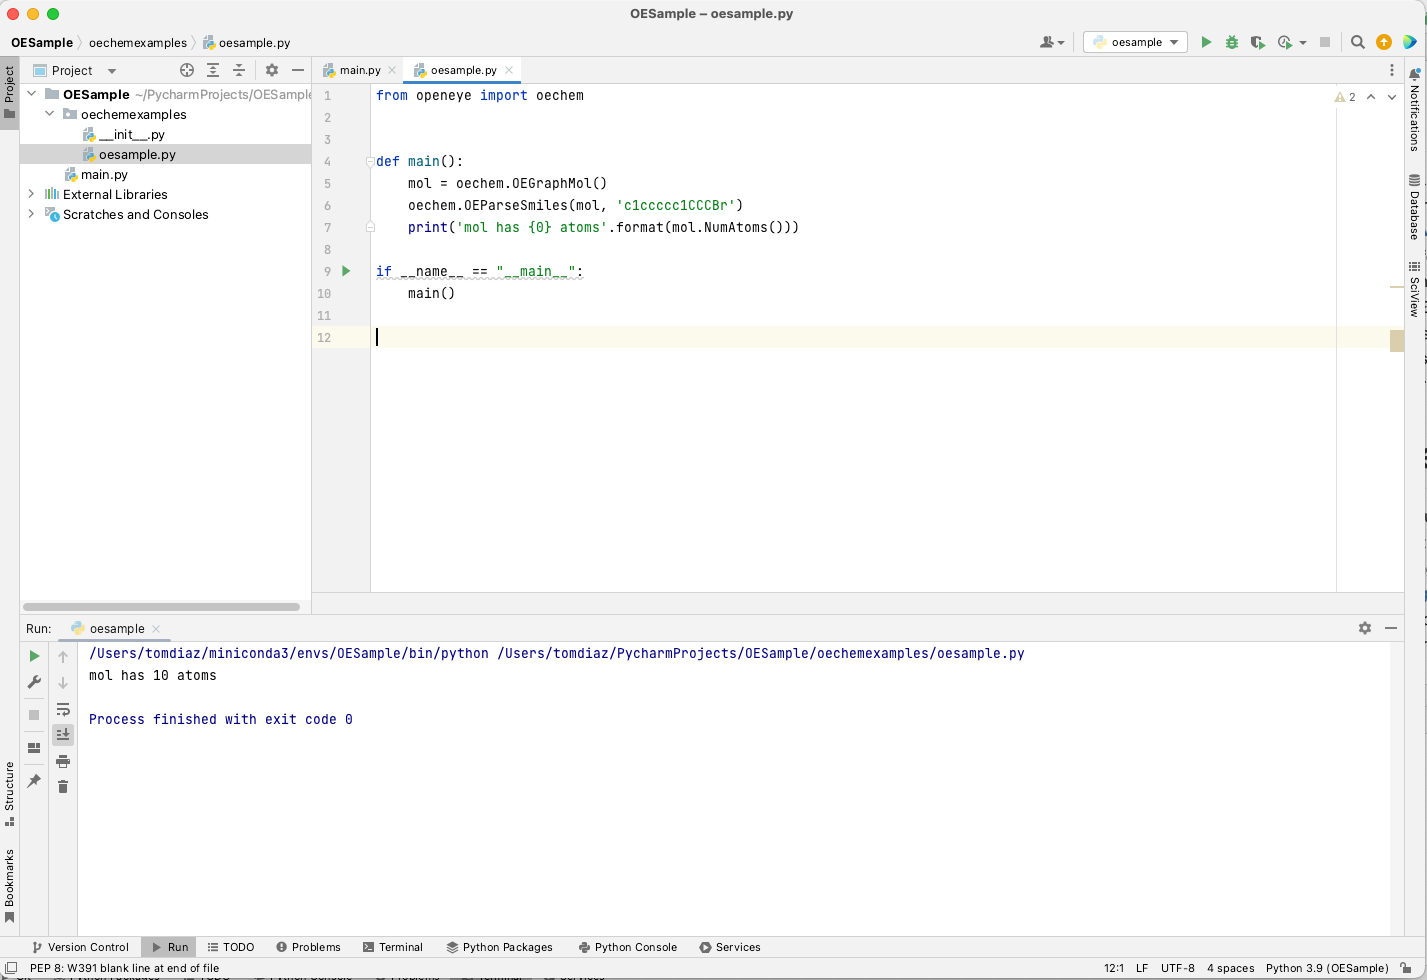
PyCharm Code and Run Output