Using C# with VS2017 or VS2019
Creating a new project
To create a new project, choose Create a New Project from the VS2019 launch screen, or from the file menu. This will bring up a dialog.
Select Console App (.Net Framework)
In the Configure your new project dialog, enter your project name and select Create.
Adding references to the OpenEye assemblies
Bring up the Reference Manager by selecting
In this dialog, we want to:
Click Browse on the left side
Click the Browse… button in the lower right.
Browse to the “Libs” directory under where you unzipped the OpenEye .NET libs.
Select “OpenEye.OEChem.dll” and hit Add
Click OK to return to the project.
Additional toolkits can be chosen as you add more functionality to your program. For this example, we are only using OEChem.
Changing the build target
By default, a new C# project is set up to target “AnyCPU”, but since we are linking to native code, we need to change the build target to “x64”.
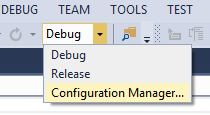
In the menu bar, you will see a pull-down menu that controls the Solution Configuration.
Click on the drop down and choose “Configuration Manager…”
Launching the Configuration Manager
You should see a dialog like The Configuration Manager.
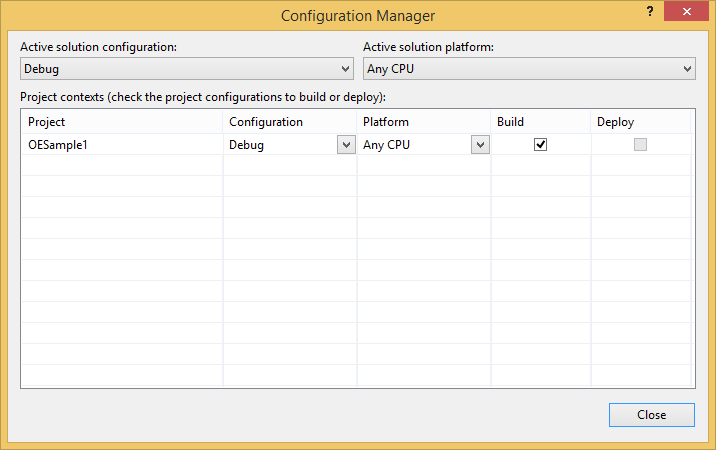
The Configuration Manager
In the upper right corner of the Configuration Manager Dialog, click on the “Active solution platform:” pulldown and choose <New…>.
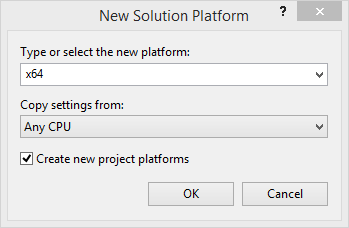
Creating new solution platform
In the top pull-down, choose “x64” and leave the bottom pull-down (“Copy settings from”), set to “AnyCPU”. Click “OK.” See Creating new solution platform.
Click Close. Now it is time to add some code to our program.
Adding code to the project
In the project browser, double-click “Program.cs” to open it in the editor, if it is not already open.
At the top of the file, we will add using statements for OEChem:
using OpenEye.OEChem;
and then inside the “Main”, we add this code:
OEGraphMol mol = new OEGraphMol();
OEChem.OESmilesToMol(mol, "c1ccccc1CCCBr");
Console.WriteLine("mol has {0} atoms", mol.NumAtoms());
When you are finished, your sample should look something like Editing in VisualStudio.
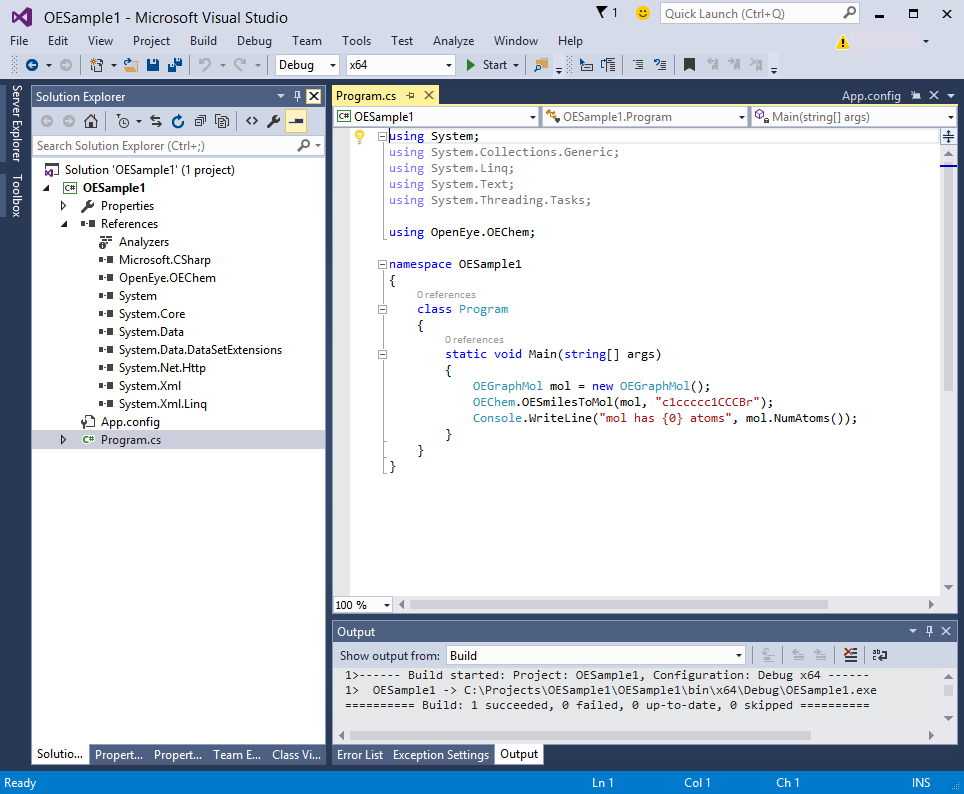
Editing in VisualStudio
To test our example, we can run it from within VisualStudio by hitting <Ctrl-F5>. If you don’t have any syntax errors, you should see a Console window appear with output that looks like Running the Example.
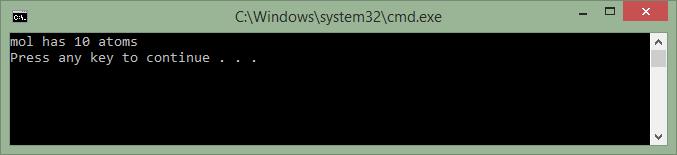
Running the example in VisualStudio
Deploying the program to another machine
Once you have a program to a state where you want to run it elsewhere or share with someone else, you should first build in Release mode.
Go back to the pull-down menu in the toolbar and change Debug to Release.
The choose .
The process of building not only compiles your C# code into an executable, it also copies the referenced OpenEye assemblies (OpenEye.OEChem.dll in this case) into the output directory. Additionally, all the DLLs that the OpenEye assembly depends on will also be copied into the Release binary directory.