Preliminary Setup Tutorial
This tutorial describes preliminary steps that are necessary to run all or most of the Large Scale Floes tutorials. After completing this tutorial, you will be ready to run every tutorial without further action, and input datasets will be available as needed for several floes. You will not need to repeat this tutorial.
Create a Tutorial Project and Working Directory
Note
Once you have created a tutorial project, you can reuse this one and skip this step.
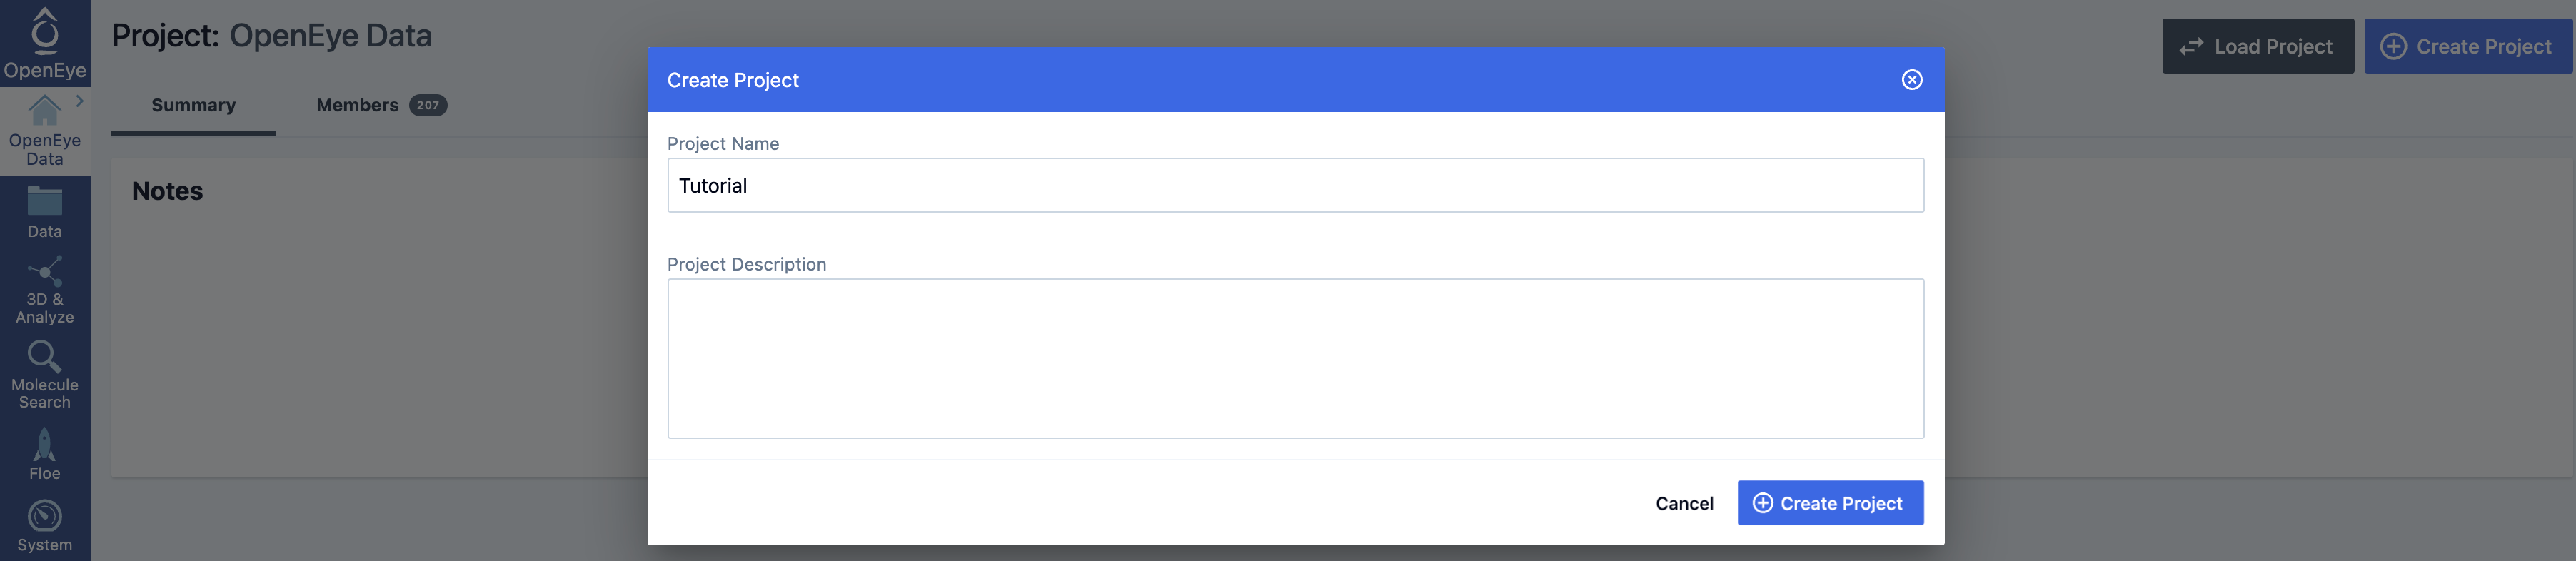
Figure 1. How to create a new project.
Log into Orion.
Navigate to the Project page on the blue navigation bar.
Click the “Create Project” button. In the dialog box, enter the project name (Tutorial for the tutorials) and click “Create Project” to save the project.
Navigate to the Data page to create a subfolder in your My Data folder of the Tutorial project. Click on the “Add Folder” button, enter Input Data for the folder name, and click “OK.”
Prepare Design Unit / Receptor
Many of the tutorials in the Large Scale Floes package require a prepared design unit and receptor as initial inputs.
This tutorial will use the HSP90 crystal structure 1uyg from the Protein Data Bank. You can import this structure into Orion and prepare it for docking with the SPRUCE - Protein Preparation Floe.
Locate the SPRUCE - Protein Preparation Floe on the Workflows tab of the Floe page.
Click “Launch Floe” to bring up the Job Form and set the following parameters.
Output Path: Use Tutorial/My Data/Input Data as the path.
Inputs
PDB Codes(s) to Download: Enter 1uyg into the box.
Outputs
Design Unit Dataset Writer: Enter hsp90_design_unit into the box.
Click the “Start Job” button to launch the Floe. The floe takes about 10 minutes to run and costs about $1.
The hsp90_design_unit dataset will serve as input for several floes in the following tutorials.
View Prepared Design Unit / Receptor
To see the hsp90_design_unit dataset in the 3D Viewer on the 3D & Analyze page, you first need to activate the datasets.
Navigate to the Data page from the blue navigation bar.
In the My Data folder, select the Input Data subfolder.
In the ‘Show’ drop-down menu, be sure that the Datasets option is selected.
Locate the hsp90_design_unit dataset. Make it active by clicking on the white circle with the plus symbol which will then become a green checkmark.
This dataset should appear in the ‘Active Datasets’ drop-down. If other datasets are active, you can deselect them in the list or click the “Clear All” button.
For more detailed information on how to navigate the features in Orion, please see the User Guide, in particular the 3D & Analyze page and 3D Viewer.
Next, switch to the 3D & Analyze page and select the 3D Modeling layout.
In the All Data tree, expand the hsp90_design_unit dataset and then expand the record under the design unit 1UGY(A) > PU(A-1224). Then click the dot next to it. The dot will turn green, and the DU will be visible in the 3D Viewer. You can visualize various parts of the DU by clicking the checkmark next to the component.
Expand the the Receptor part of the record. Click the checkmark next to the Receptor Outer Contour to make the contour visible.
The protein structure, crystallographic ligand and a blue contour are now visible. The blue outer contour encloses the region of space that all docked molecule heavy atoms will fit within.