Creating an Orion Project (Optional)
This only has to be done once for the stack you will be running these tutorials on. In order to save the expense of running the full protein sampling simulation for every person running these tutorials, it is useful to have a single project space on Orion that will host the protein sampling inputs and outputs for the future use of others going through this tutorial.
If the project space, Cryptic Pocket Detection Tutorials, already exists and you have access to it, you can skip to preparing a PDB structure using Spruce.
Warning
You will only be able to see the projects where you are already a member. If you are not the first person to run these tutorials on your stack, you may need to be added as a member on the project.
Start by logging onto Orion. In the top-left corner of the screen, under the OpenEye icon, there will be an icon of three heads or a house with a > symbol on the side. Click on that icon. This will show you all of the projects that are currently available to you. If you already have access to the Cryptic Pocket Detection Tutorials project, click on that project space. If that is not the case and you are the first person on your stack to go through this tutorial, click on the option labeled + Add a new project.
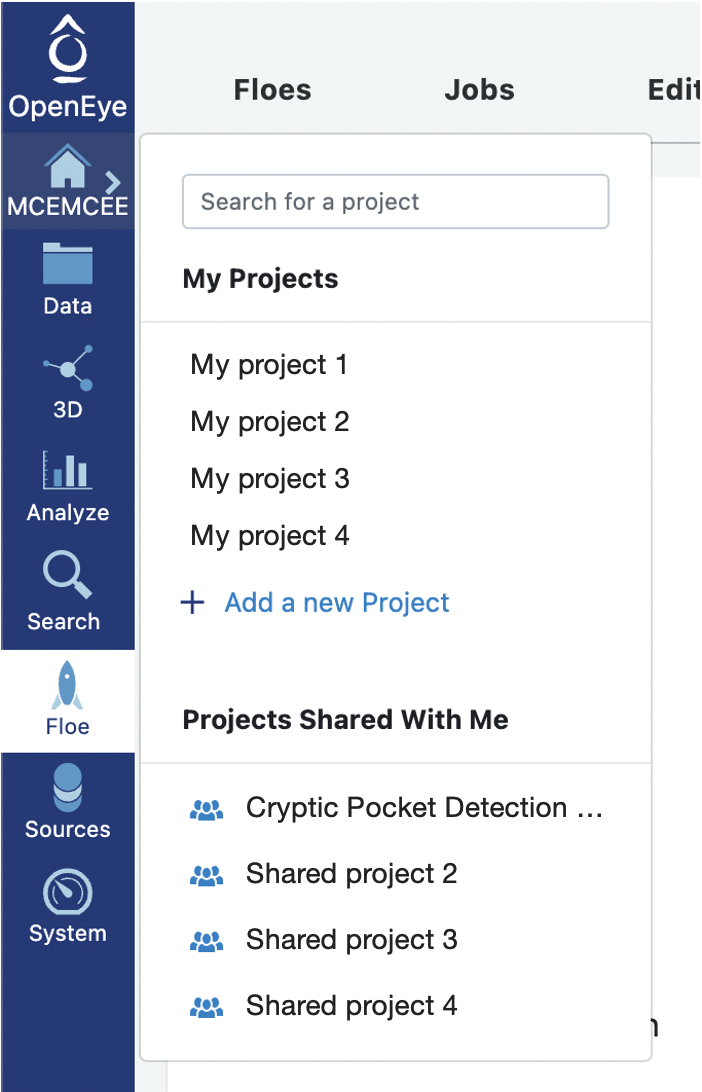
This will open up a window where you can name your project Cryptic Pocket Detection Tutorials and add a description.
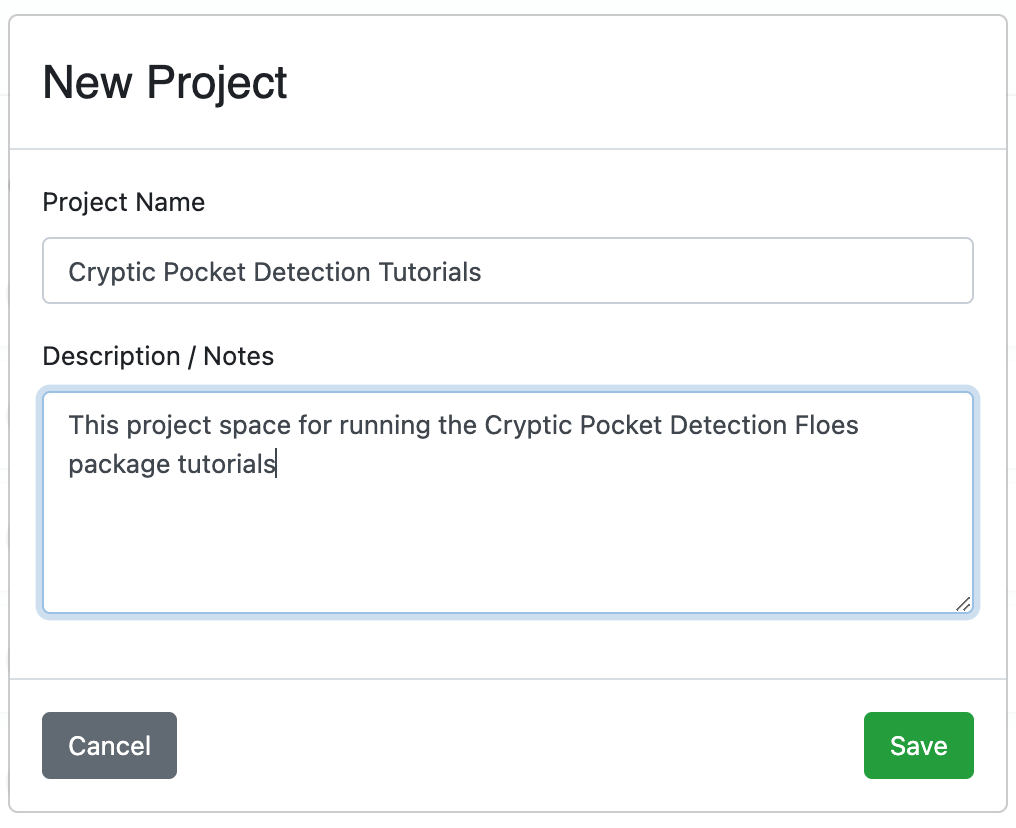
Once done, click Save. This will automatically move you into the tutorial project space that you have just created and allow you to start running floes that will generate data within the tutorial project space.
Adding Users to an Orion Project
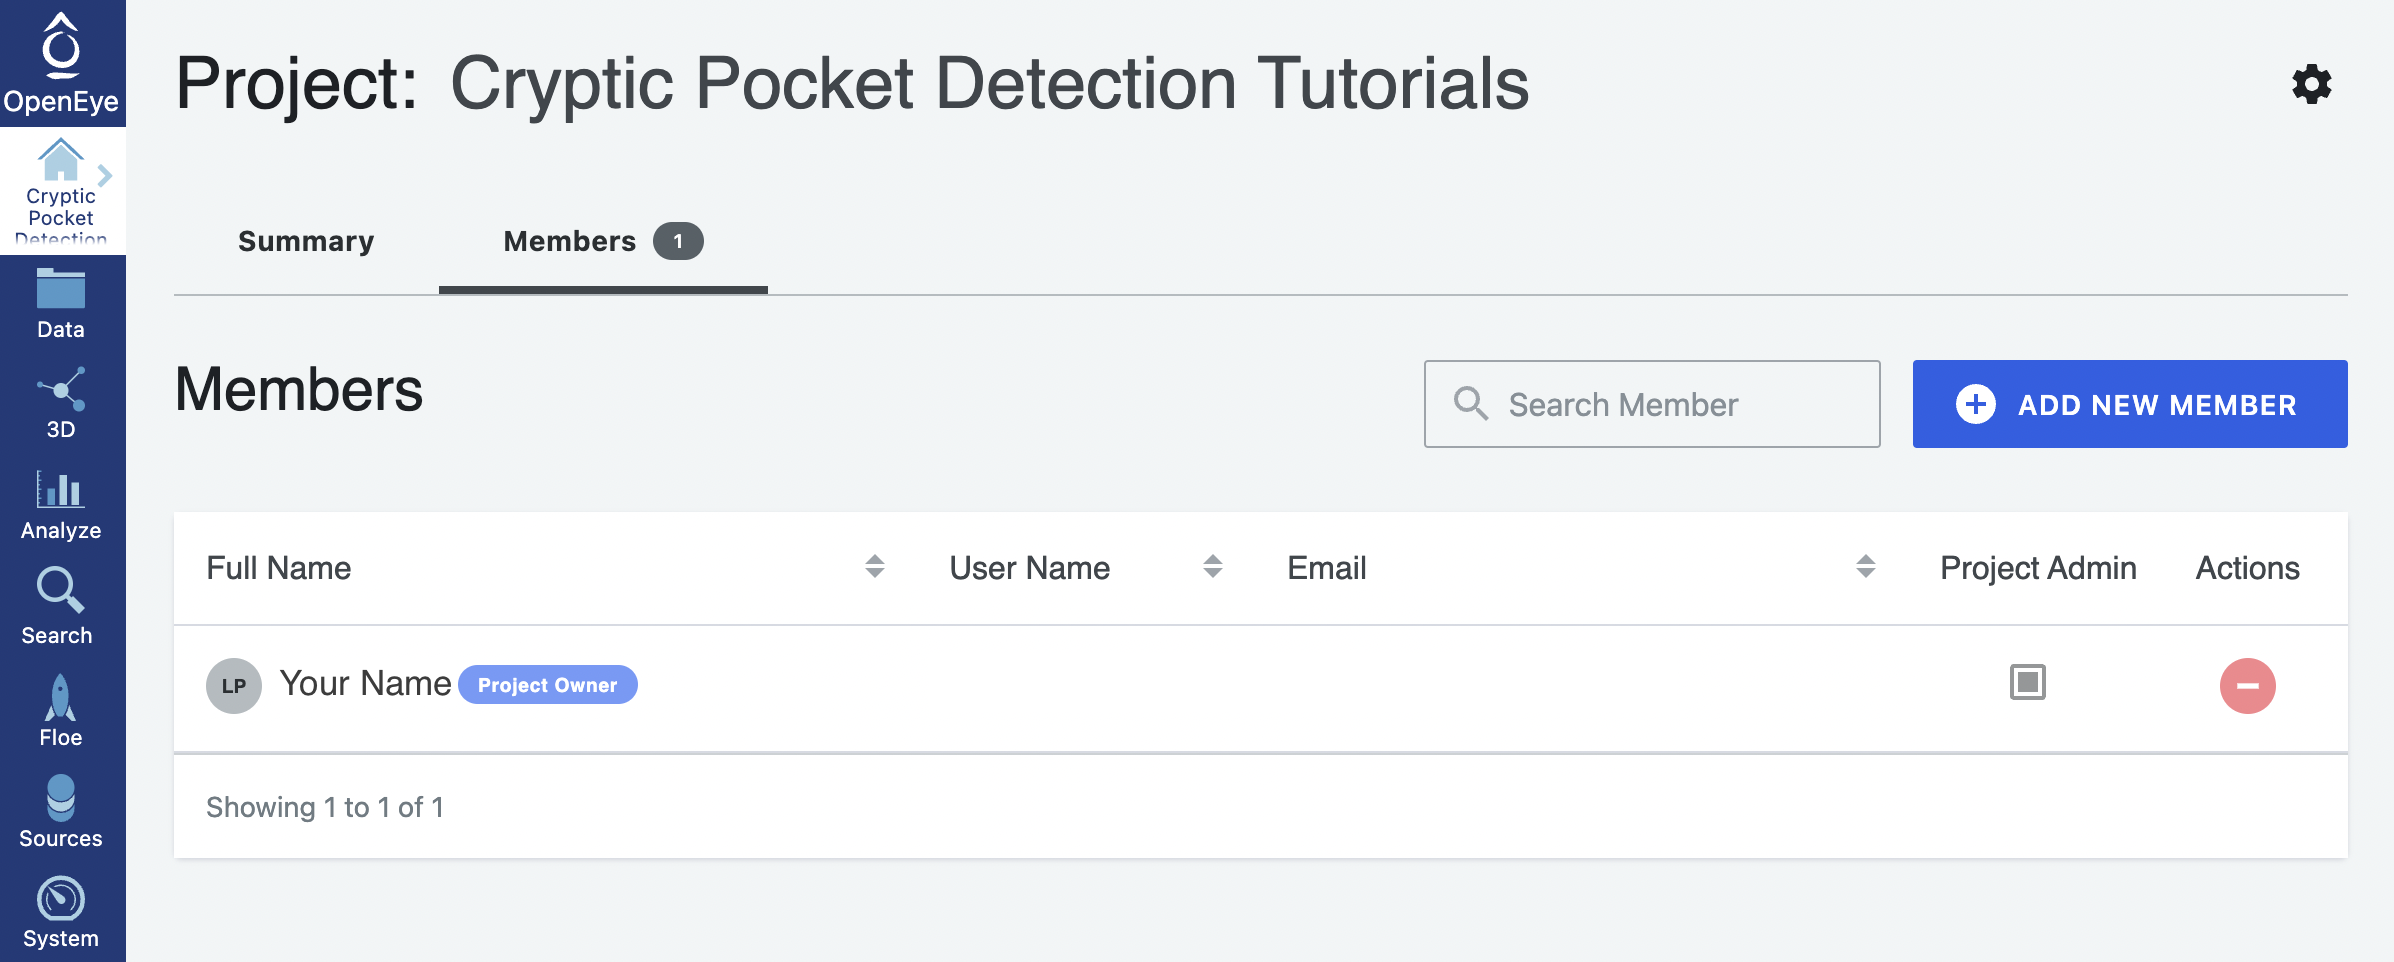
Click on the Project Home icon on the vertical menu. This will re-direct you to the project summary page. There are two horizontal tabs: Summary and Members. Click on the Members tab.

You will see that you are the only member on the newly created project. Click on the blue button with + ADD NEW MEMBER button.
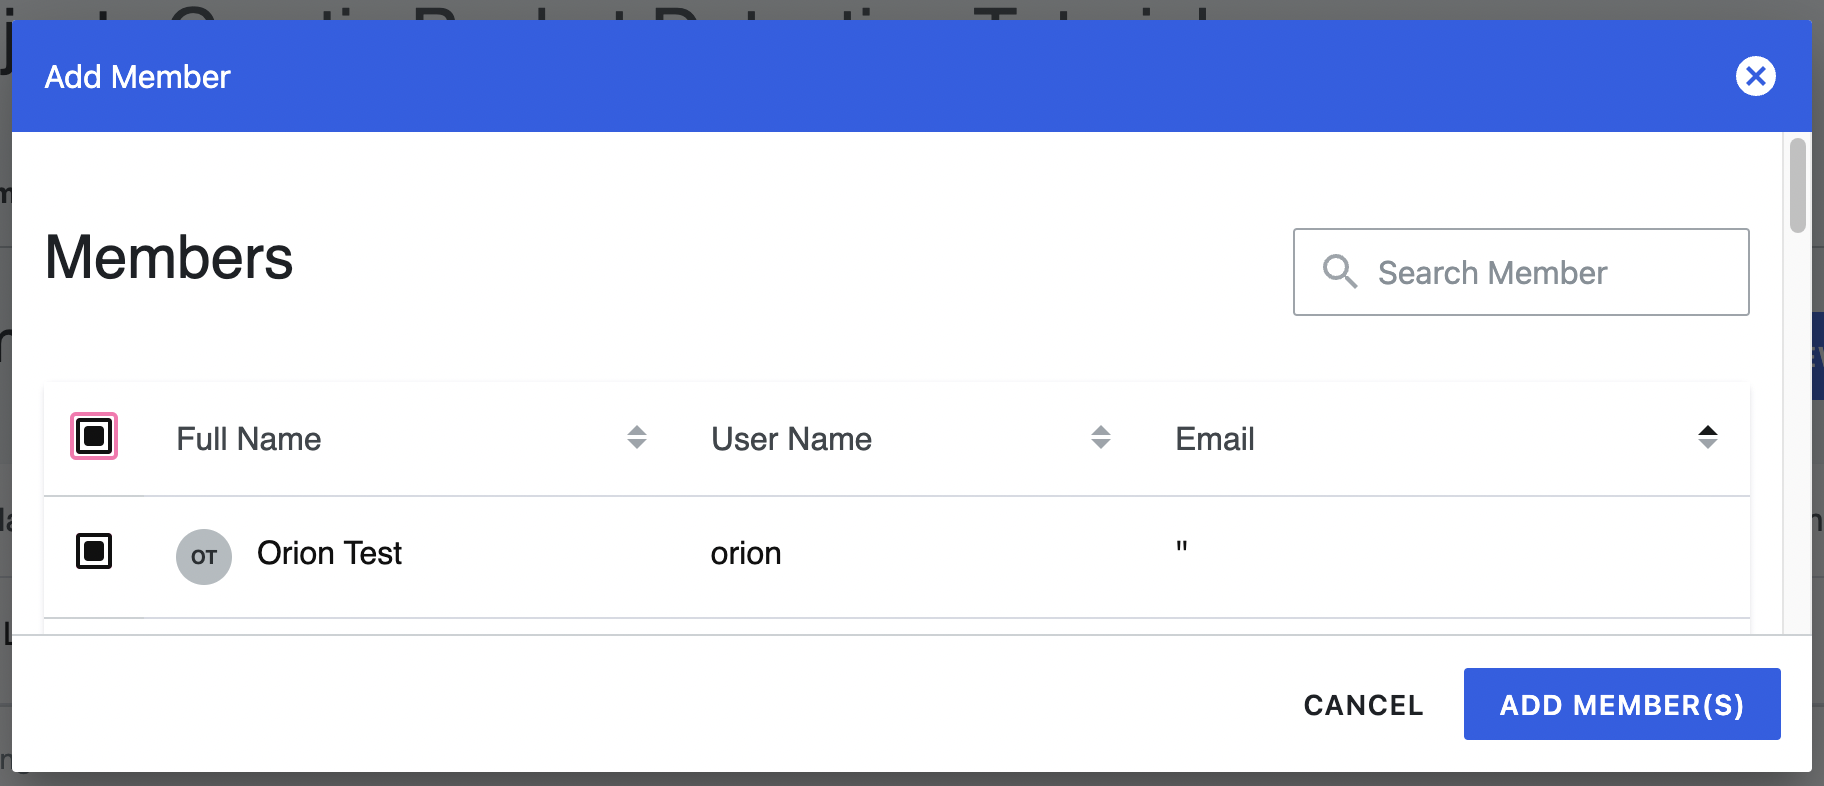
You can choose to add individuals in the pop-up window but you can also add everyone on the stack. In the snapshot below, you can see that the box next to the Full Name table heading has been selected which will automatically add everyone on the stack to the project. When you have selected all of the users that you would like to add to the project space, click on the blue Add Member(s) button.
Where Do You Generate Data?
For the most part, you will be generating output in the Team Data project data space. This will ensure that others have access to the collections and datasets generated by the floes if needed.
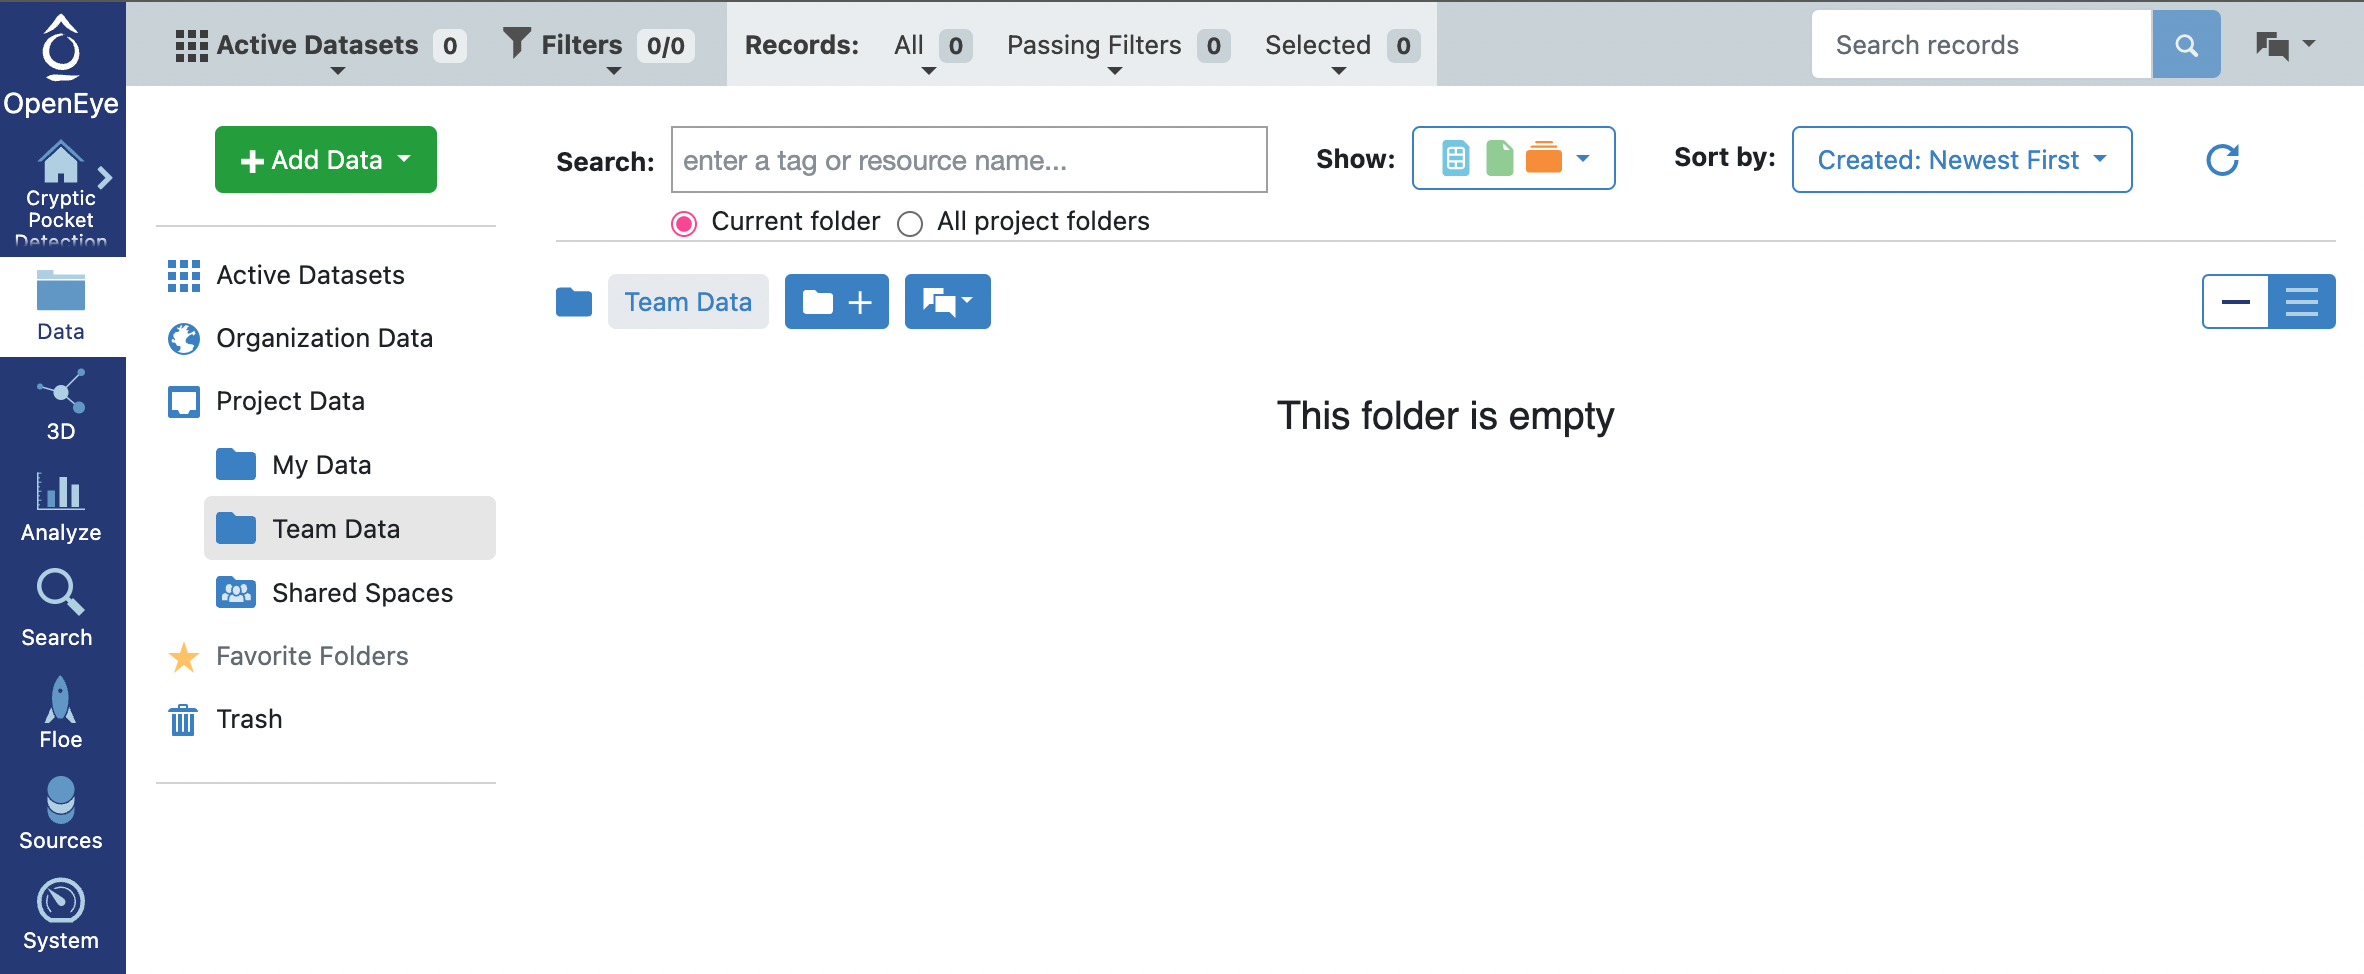
If you are the first person to run these tutorials, you will be generating data in a directory called “Beta-Lactamase”. Begin by navigating to the vertical menu’s Data tab and select the Team Data tab in the second vertical menu. There will be no existing directories in the Team Data space. Click on the blue button with a folder icon and plus sign on it.
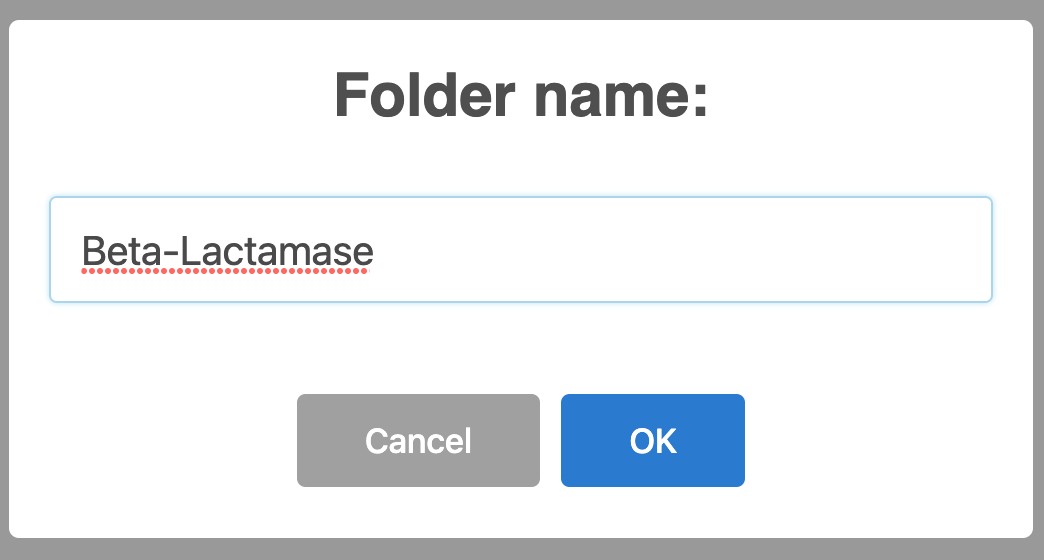
This will open a pop-up window where you can add the folder name Beta-Lactamase.
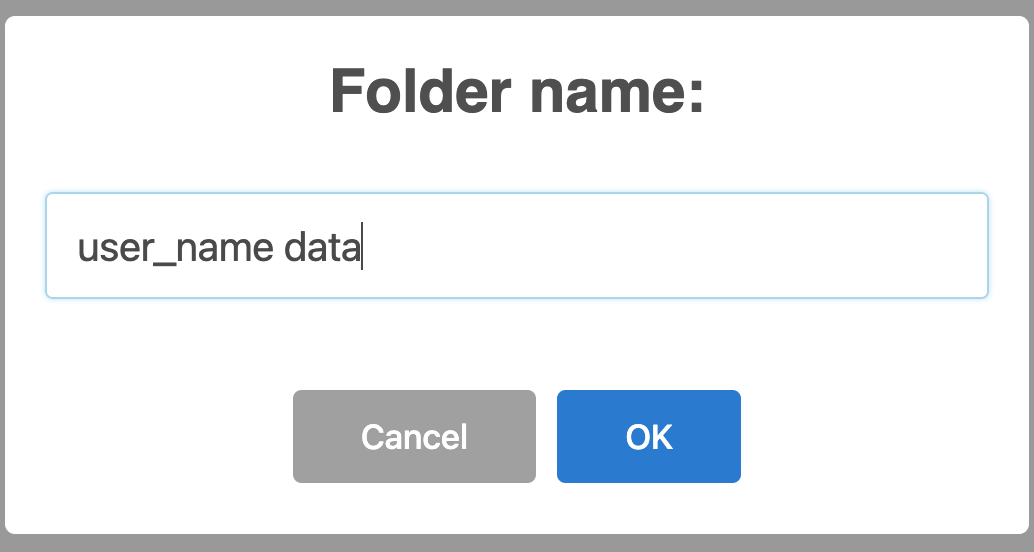
If you are not the first person running these floes, you can feel free to save the tutorial data in My Data or Team Data in a personalized directory to avoid confusing the reference datasets and collections with the ones that you will be generating.
Warning
Since the datasets and collections are stored in Team Data, it is possible to alter one-another’s data. Collections on Orion only support being written to by a single floe, job, or cube. Make sure that no one else is actively running the A3a or A3b floes on the simulation collection and associated dataset when running any of the subsequent cryptic pocket detection floes. Doing so can corrupt the collection.
In cases where the A4-C2 floes ask for the Protein Sampling (Weighted Ensemble MD Simulation) Dataset input, they will attempt to access the associated collection.